Advance Configure include the six major functions of distributing configuration, enabling anti-loop, disabling anti- loop, restarting, importing, and exporting.

The following converged gateways, routers, and AC-type devices, and more, all have the functions of sending configuration, restarting, importing, and exporting, and the operations are similar, so I won’t repeat them in the future. For AP and bridge type devices, there are only restart and export under More, which is similar to here, and will not be described later.
Deliver Configuration
You can refer to the template (the template needs to be added by the user) to fill in the configuration data. Whether the configuration content is correct or not needs to be guaranteed by the user. The system only verifies the format, and the configuration cannot be delivered if the format verification fails, as shown below:
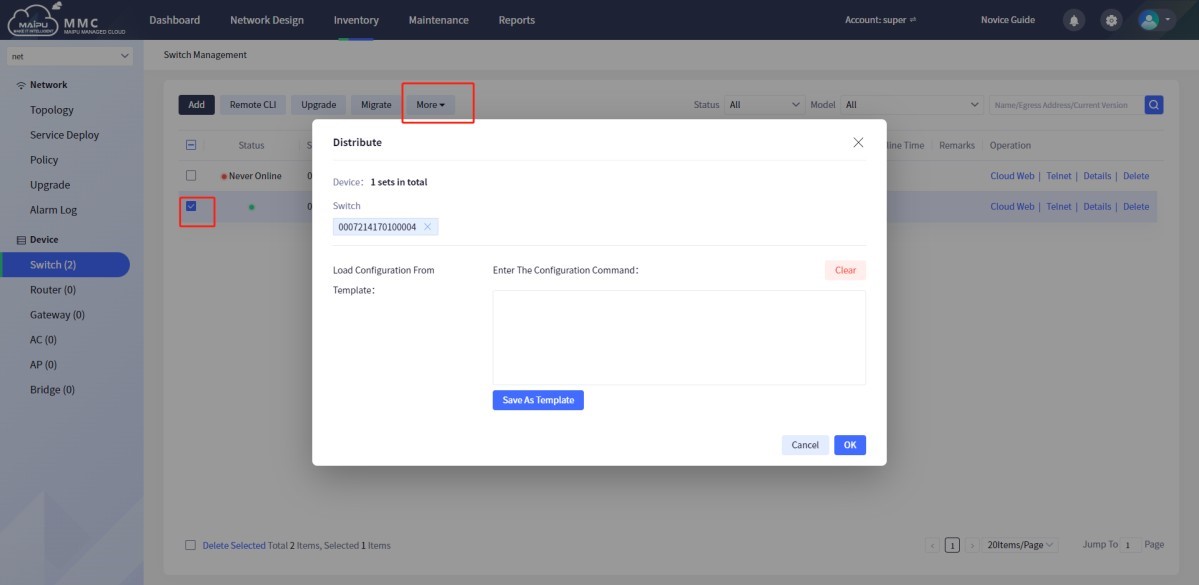
Figure 1-6-38 switch
Select a non-online device, and the page will prompt as shown below:

Figure 1-6-39 Tips
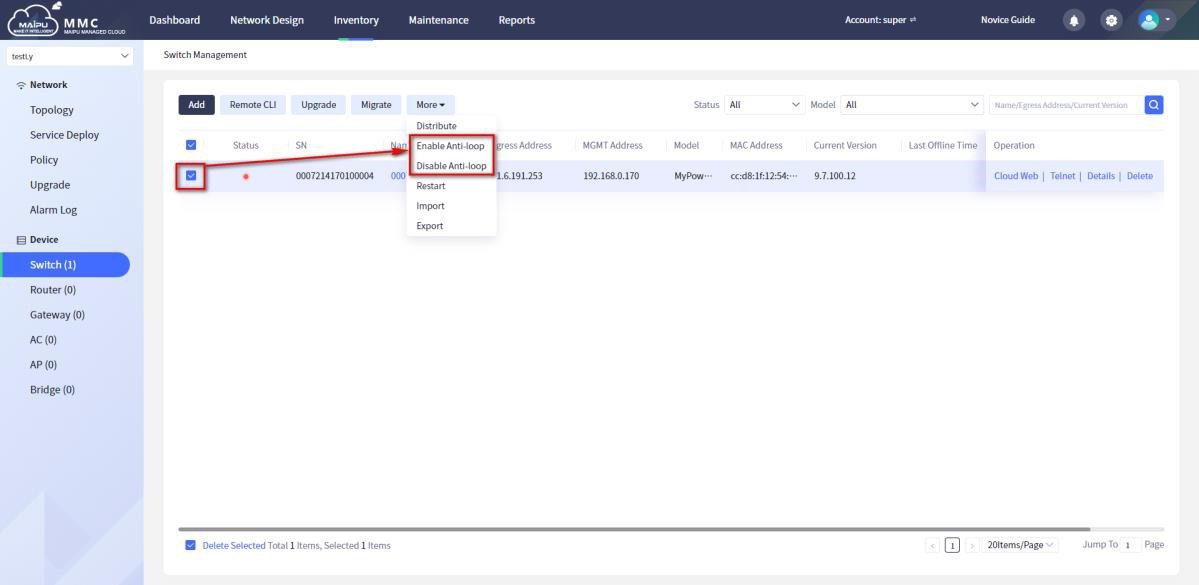
Switch Anti-Loop
The anti-loop function sends the command of enabling spanning tree to the device. After a loop occurs on the device, the spanning tree will block a certain port according to its rules to prevent loop, as shown below:
Figure 1-6-40 Switch anti-loop
Restart
Users can restart devices individually or in batches (online), and whether the restart fails or succeeds, the page will give a prompt., as shown below:
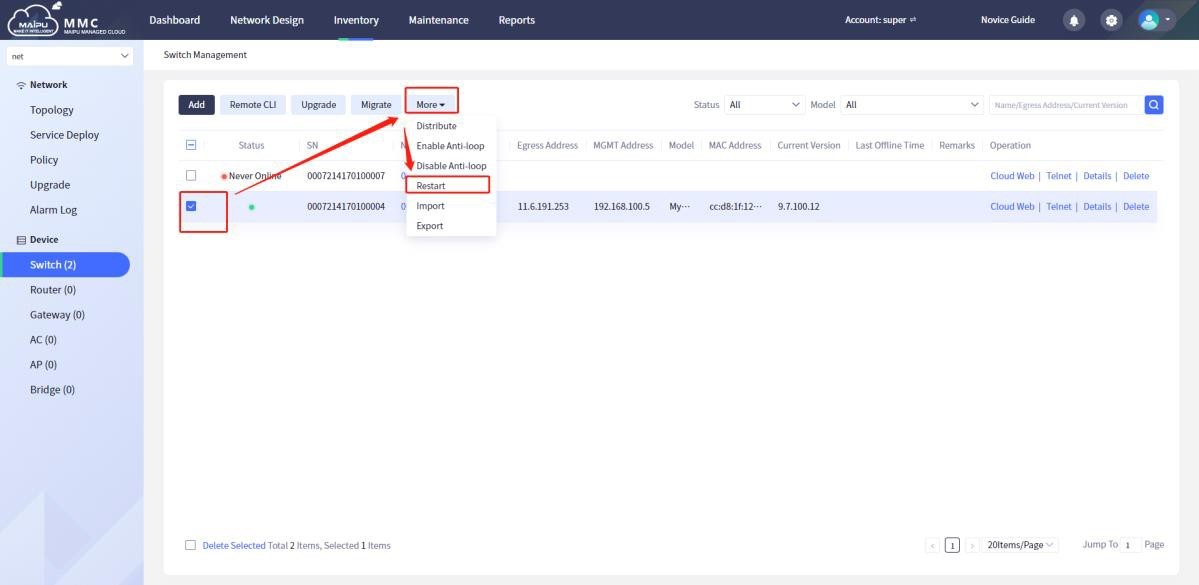
Figure 1-6-41 Restart
After selecting [Restart], the page is as shown below:
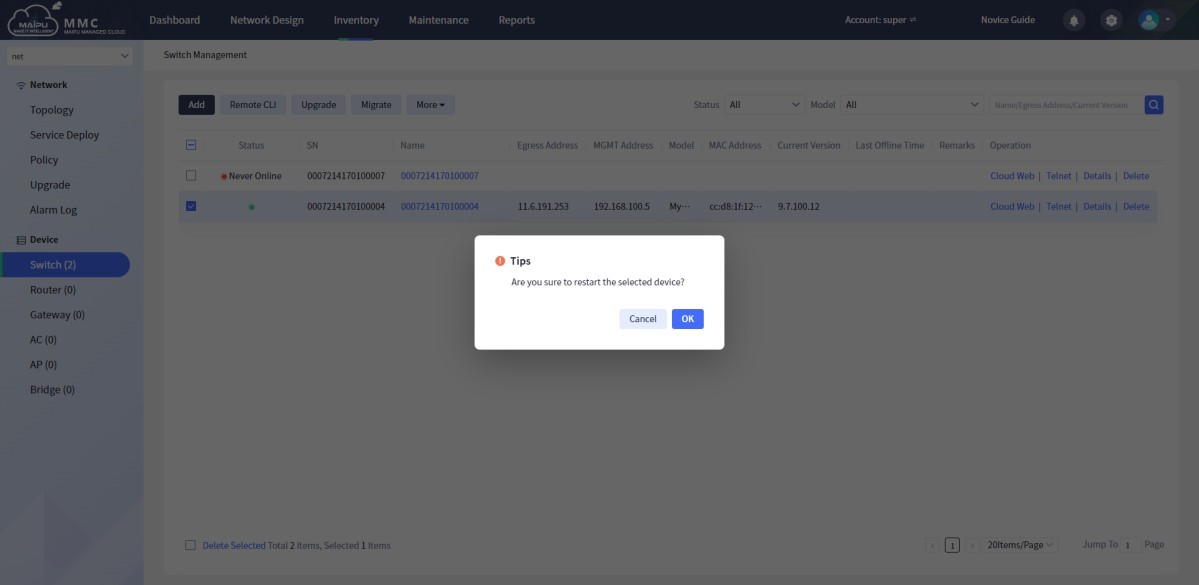
Figure 1-6-42 Restart
Select a non-online device, and the page will give the following prompt, as shown below:
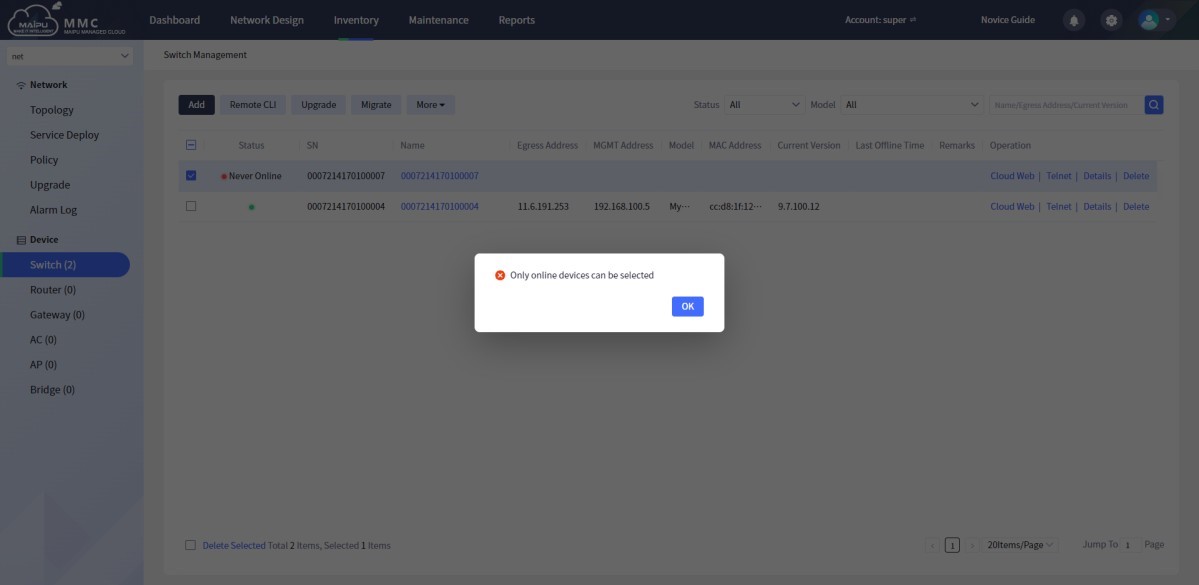
Figure 1-6-43 Tips
Import
From the upper menu bar [Inventory]—>[Switch]—>[More]—>[Import], importing devices means adding switch devices in batches. You can click [Download Template] first, fill in the corresponding parameters as required, and then click [Browse] to import the file into the system, and finally click [OK], as shown below:
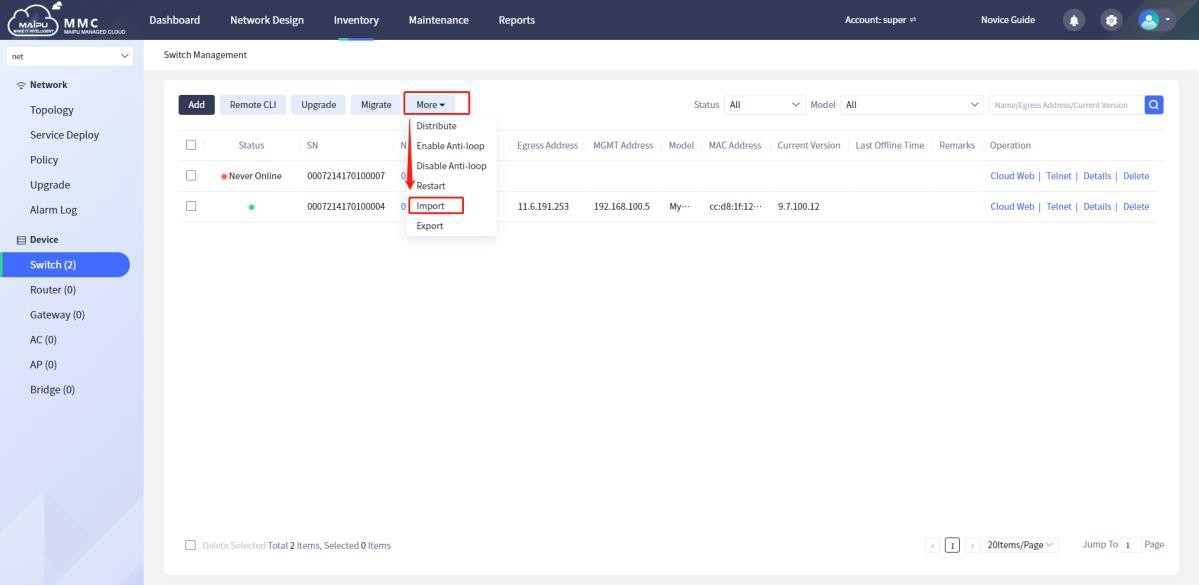
Figure 1-6-44 Import switch
The device import template is as follows:
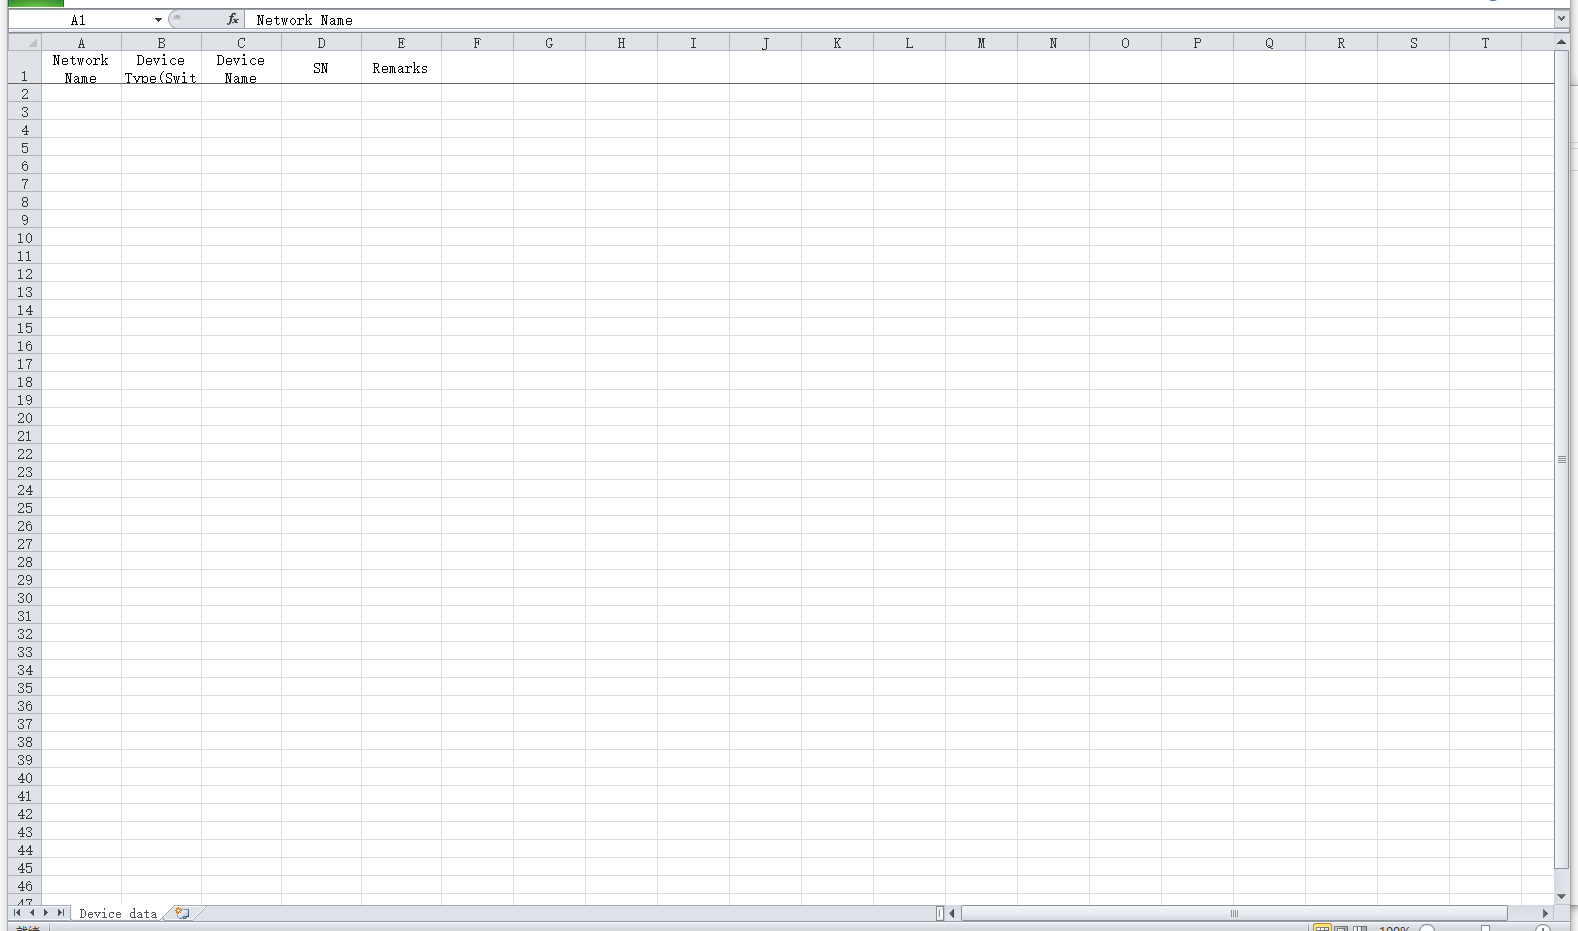
Figure 1-6-45 Import template
Export
By default, export all current [Switch] devices, and you can also search for the devices that meet the conditions to export, as shown below:
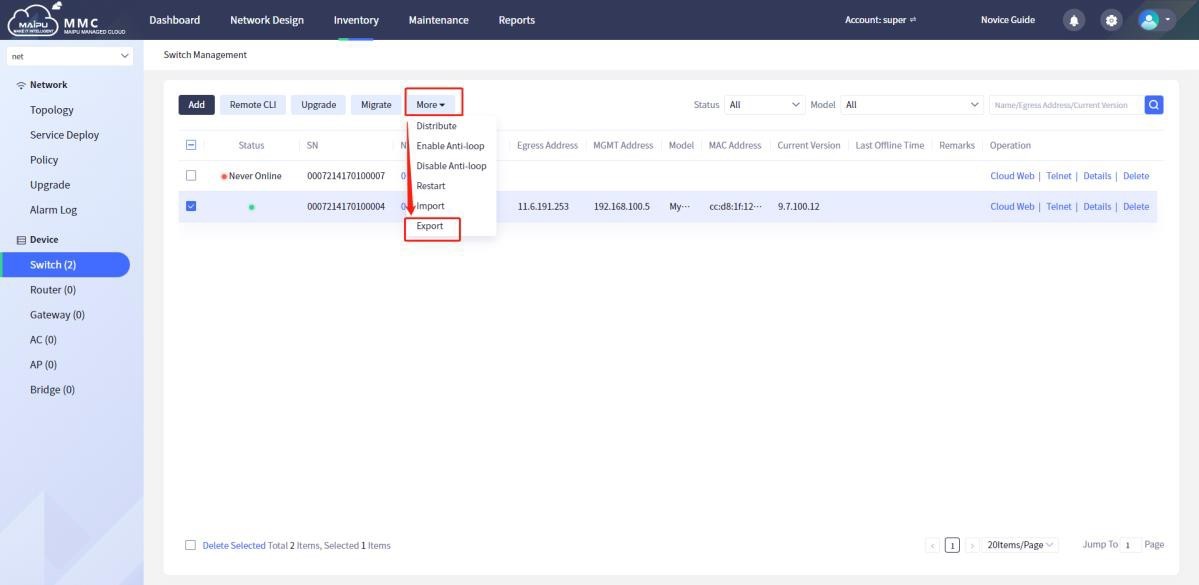
Figure 1-6-46 Export switch device
The exported data is as follows:
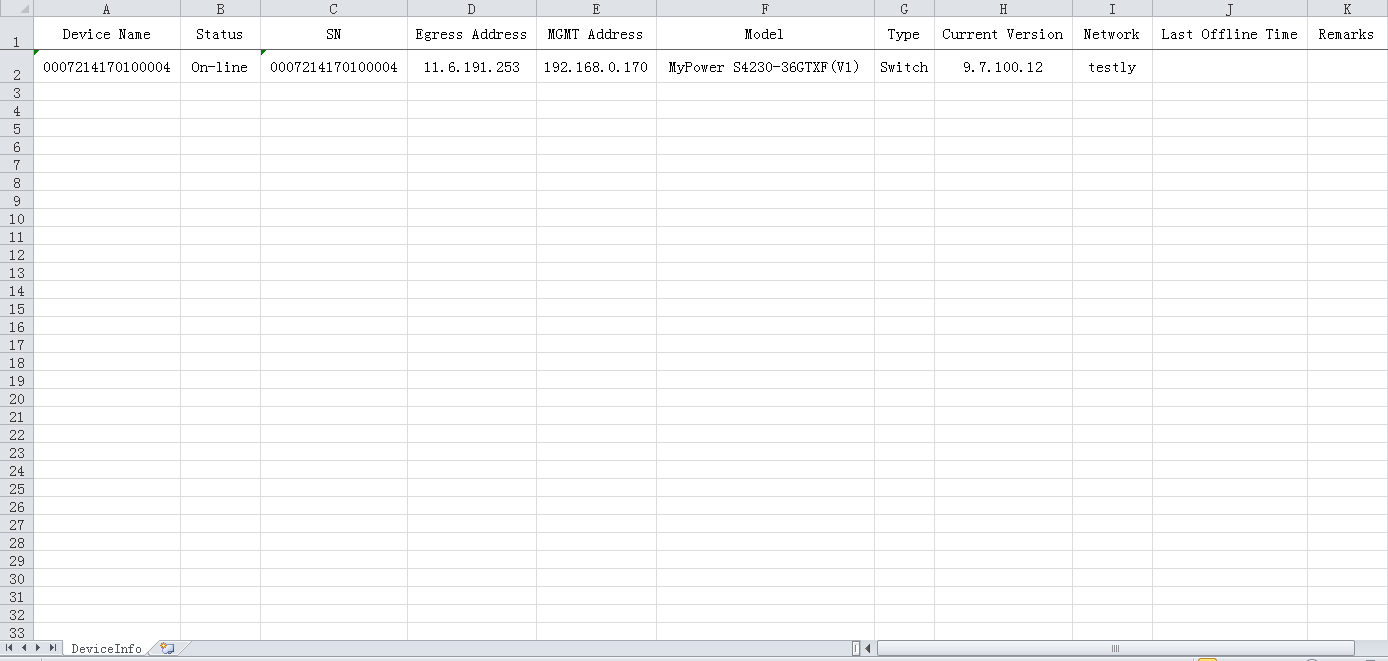
Figure 1-6-47 Export switch data
 Switch