Network Topology
Enter [Inventory] -> [Topology], select the network in the network name drop-down box, and the page will display the current network topology, device status, and link status information, as shown below:

Figure 1-6-1 Network topology
Add Device
From the upper menu bar [Inventory] —> [Topology] —> [Add Device], select the network, the device type [Switch/Router/Converged Gateway/AC/Bridge], fill in the serial number, device Name, the device name cannot be repeated in the tenant range, and the serial number cannot be repeated in the entire network. The fields with are required, and finally click [OK] to add the device, as shown below:
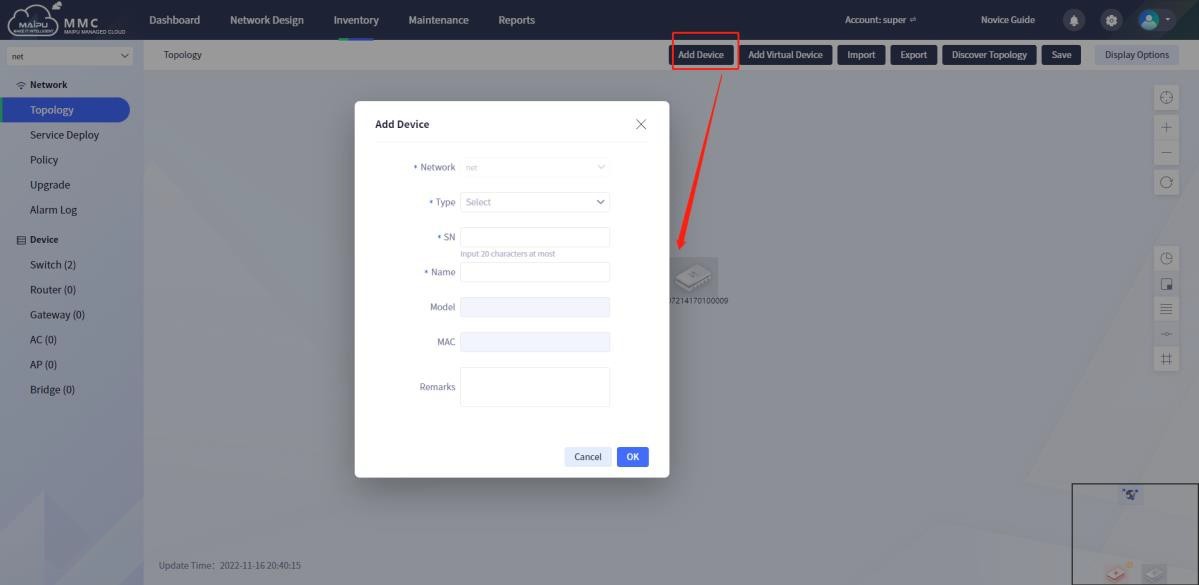
Figure 1-6-2 Add device
Add Virtual Device
From the upper menu bar [Inventory] —> [Topology] —> [Add Virtual Device], select the network, the device type [switch/router/converged gateway/AC/AP/bridge], fill in the device name, which cannot be repeated within the scope of this tenant, and the fields with are required. Finally, click [OK] to add the device, as shown below:
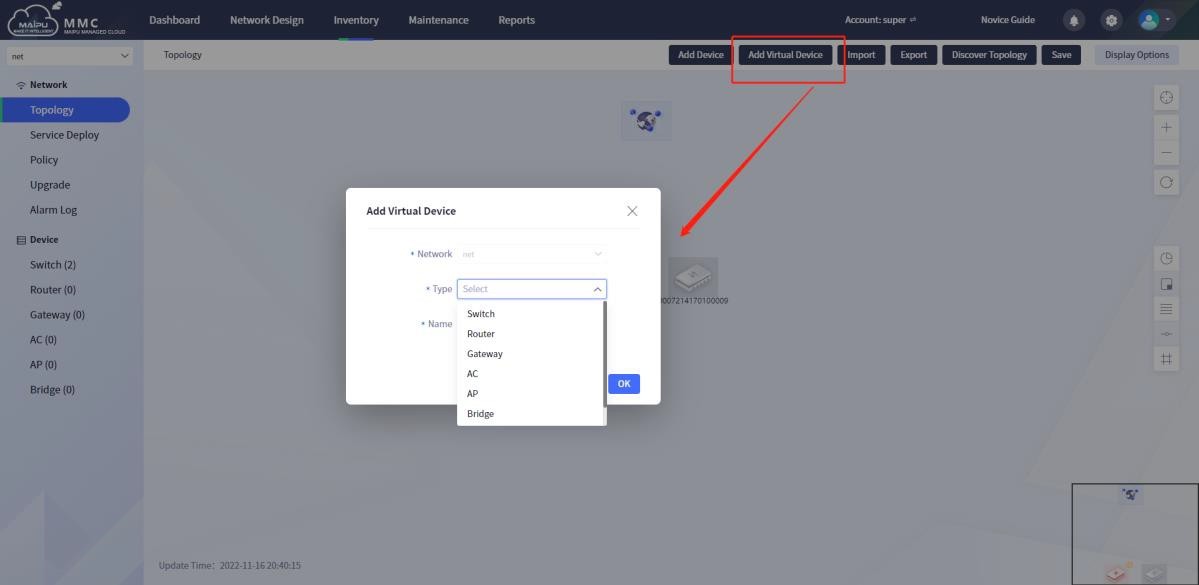
Figure 1-6-3 Add a virtual device
Import
From the upper menu bar [Inventory] —> [Topology] —> [Import], importing devices means adding devices in batches. You can click [Download Template] first, fill in the corresponding parameters as required, and then click [Browse]. Import the file into the system, and finally click [OK], as shown below:
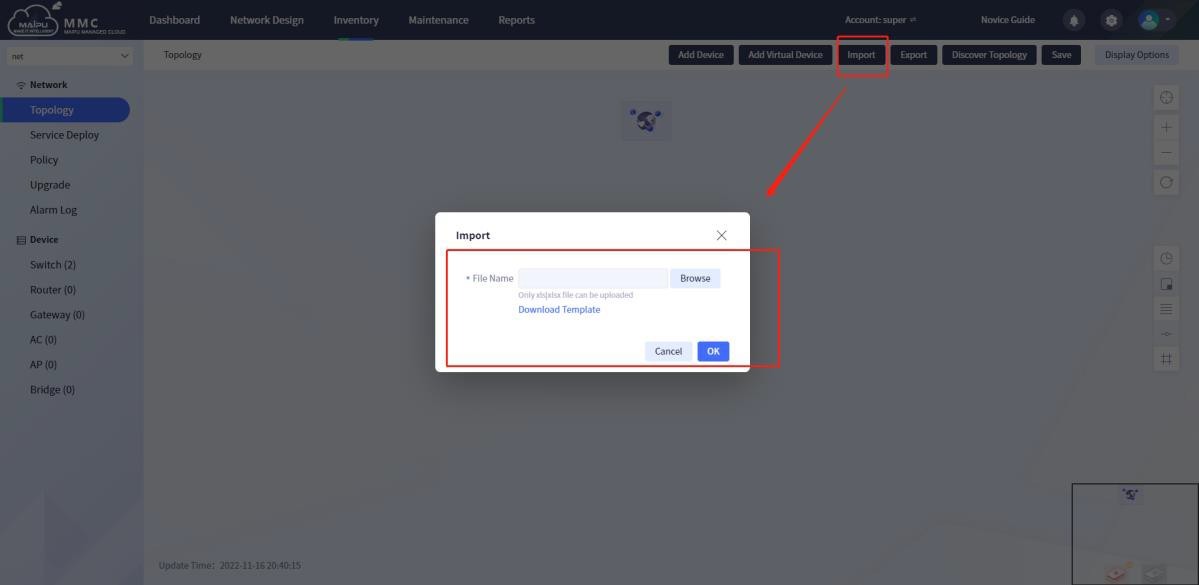
Figure 1-6-4 Import
The device import template is as follows:

Figure 1-6-5 Import template
Export
From the upper menu bar [Inventory] —> [Topology] —> [Export], click [Export], and the current topology will be downloaded to the local as a picture, as shown below:

Figure 1-6-6 Export topology
One-click Device Discovery
From the upper menu bar [Inventory] —> [Topology] —> [Discover Topology], discover new devices and links in the current network, and add them to the current network topology map, as shown below:
Scanned devices are divided into auto registration and manual registration. Manually registered devices already have network information and will be displayed on the current page. Automatically registered devices will not be displayed on the current page without network information before one-click discovery. Click [Discover Topology] will bind all devices connected to the gateway that are automatically registered to the server with network and tenant information, and then scan the link information and form a complete network topology.
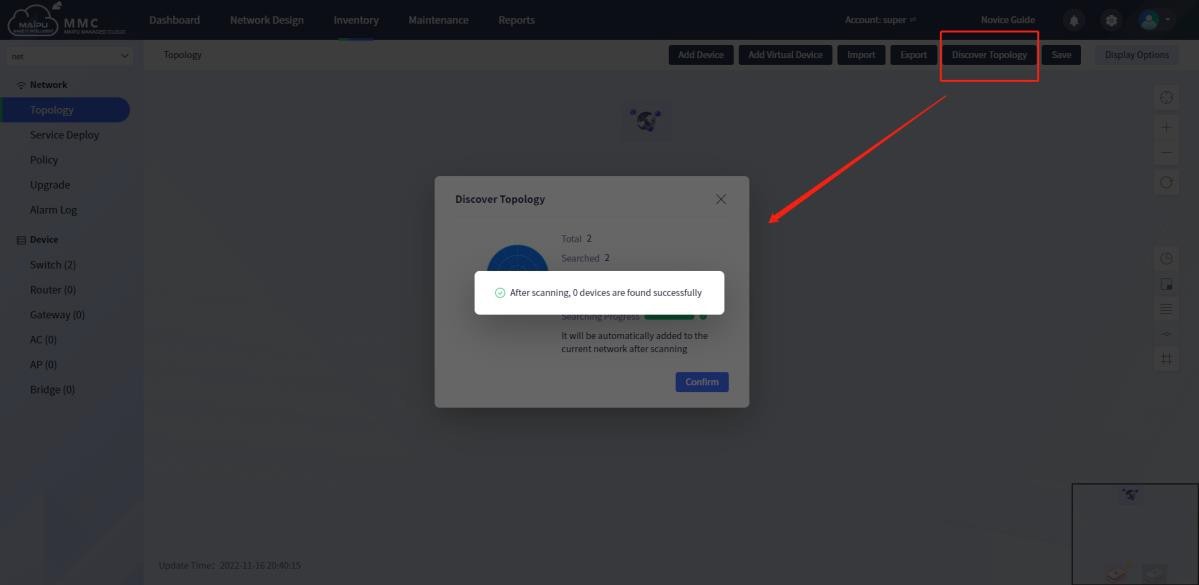
Figure 1-6-7 One-click device discovery
Save
From the upper menu bar [Inventory] —> [Topology] —> [Save], the current topology layout will be saved. After the user manually drags and drops the topology layout, he can use this function to save it.
Information Options
From the upper menu bar [Inventory] —> [Topology]—> [Display Options], select the information to be displayed by the device, and display the corresponding information of the device in the network topology, as shown in the figure below:
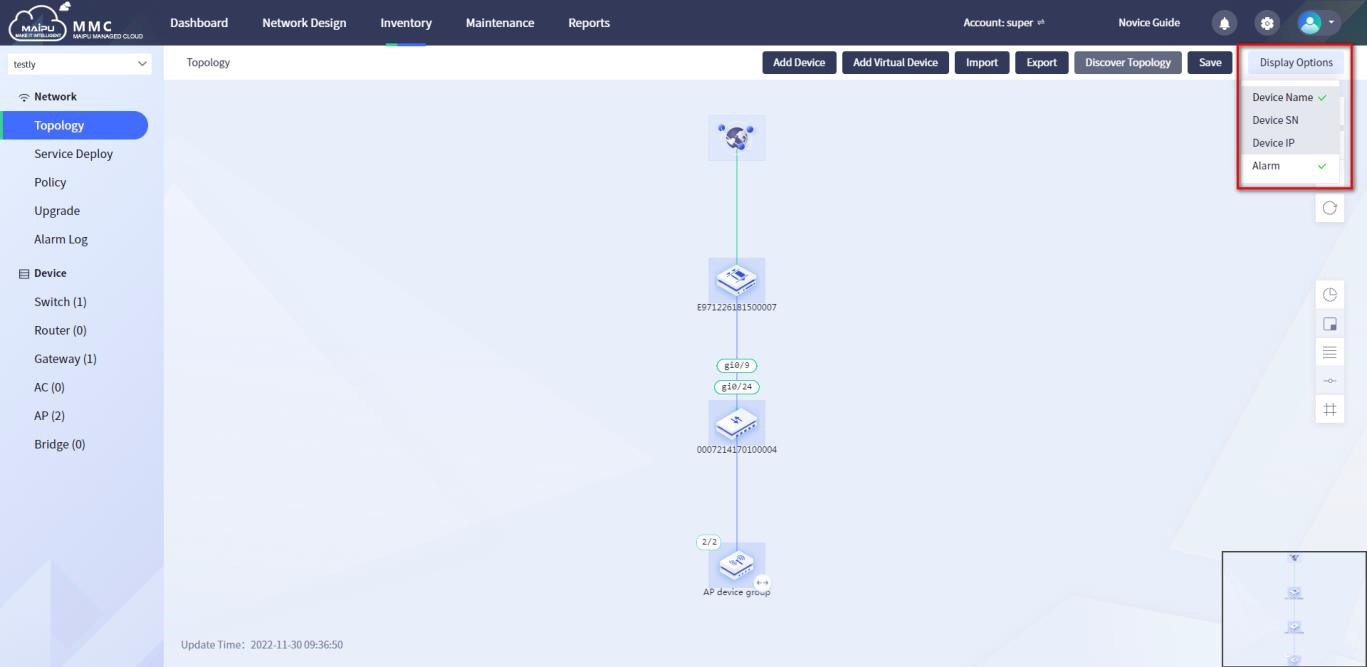
Figure 1-6-8 Information options
 Switch